Anúncios
Bạn want a practical, shared setup that keeps running week after week, not a plan that only looks good on paper. This guide shows how to build a real, low-fuss program that fits your people, rules, and space.
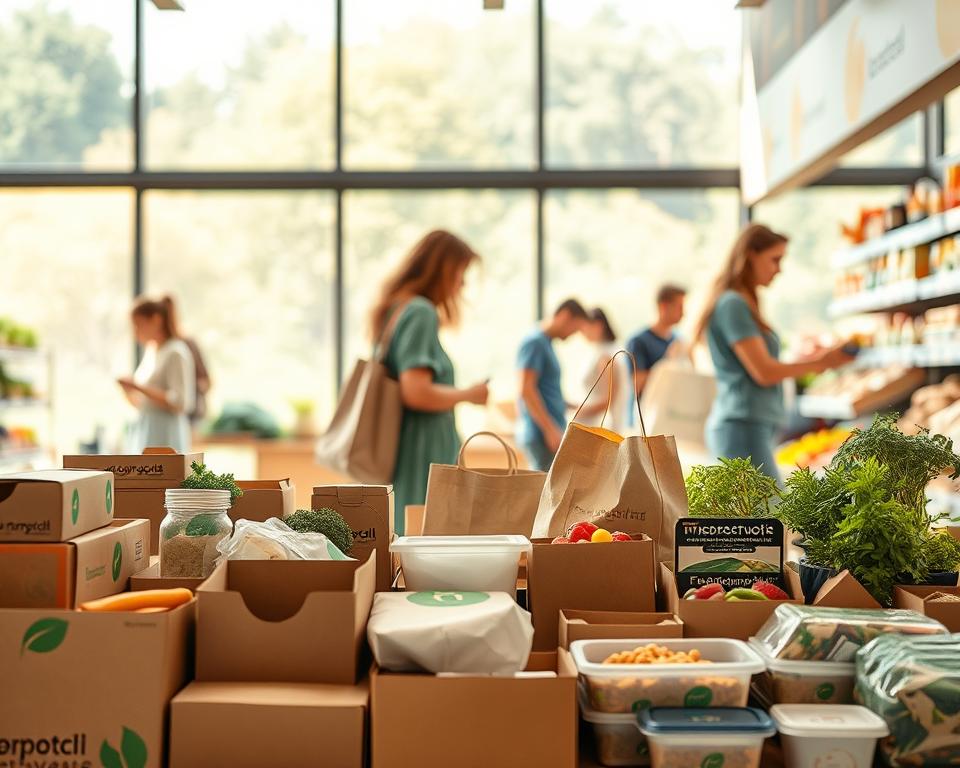
We define community composting in plain terms: it sits between a home bin and a big industrial facility. You’ll learn three workable models—garden sites, distributed partners, and neighborhood/home support—so you can match a system to your group and local rules.
Expect a clear promise: turn everyday food scraps and yard waste into usable compost that strengthens soil and gardens. The focus is on low contamination, low odor, simple steps, and a maintenance plan that won’t burn out volunteers.
This short guide is for garden leaders, neighbors, HOA groups, schools, and small businesses. If you care about climate, soil, and water benefits, and you want a plan people will actually follow, keep reading.
Why Community Composting Matters for Your Climate, Soil, and Water Goals
When you keep food scraps and yard waste out of the landfill, you stop methane from forming. Methane traps 84 times more heat than CO₂ over the short term, so diverting organics is a big climate win.
Anúncios
Cut methane by diverting organics
Materials buried without oxygen become a potent greenhouse gas instead of a useful resource. Local diversion reduces hauling and the hidden emissions from long truck trips to distant facilities.
Use finished compost as carbon farming
Applying compost helps soil store more carbon. Healthier soil supports stronger plants and gradually draws down carbon from the air.
Boost soil health and water resilience
Compost improves soil structure so it holds water better. That keeps gardens and urban plots productive during dry spells and reduces need for imported inputs.
| Action | Climate effect | Local benefit |
|---|---|---|
| Divert food waste from landfill | Reduces methane (84x short-term) | Less hauling, lower emissions |
| Build local infrastructure | Increase diversion ~44% | Captures nutrients for soil |
| Apply finished compost | Increases soil carbon storage | Better water retention, stronger plants |
Choose the Right Model for Your Space and People
Match the right setup to your site and the volunteers you can count on. Pick a model that fits your group’s time, the room you have, and how people prefer to drop off scraps.
Garden bin stations that keep nutrients local
What it is: Simple bins placed inside a garden so scraps become compost for the same beds.
Tại sao nó hiệu quả: Low transport, clear access, and gardeners see benefits fast. This closed-loop model reduces contamination and keeps volunteers engaged.
Distributed partnerships with schools, restaurants, and farms
What it is: A network where schools and businesses collect food and a local farm or regenerative partner processes it.
Tại sao nó hiệu quả: You get higher volume while keeping compost local. Eco-Cycle-style partnerships make tailored compost and expand reach without one site doing all the work.
Backyard support programs that scale across neighborhoods
What it is: A municipal or group program that gives bins, workshops, and outreach so residents compost at home.
Tại sao nó hiệu quả: Studies show municipal savings (~$43–$44/ton) when bin distribution, training, and school outreach are included. This lowers hauling and keeps resources in home gardens.
| Model | Access & convenience | Volunteer load | Best if you… |
|---|---|---|---|
| Garden bin stations | High for members on-site | Moderate; shared among gardeners | Have limited space but active garden members |
| Distributed partnerships | Varies; often multi-drop points | Lower per site; managed by partners | Have strong partner network (schools, restaurants, farms) |
| Backyard support programs | Very high (doorstep access) | Low for organizers; higher household participation | Want low ongoing maintenance per site and broad reach |
Each model needs clear rules for materials, a leader or small group, and basic infrastructure like bins, tools, and signage. If your people have limited time, pick the model that keeps daily tasks local and simple. That way your program starts strong and keeps delivering benefits: less waste, richer soil, and simple routines.
How to Set Up community composting systems at a Site That Gets Used
Start by choosing a site with simple truy cập and enough room to work. Pick a flat place near the garden, kitchen, or drop-off point so people pass by and can carry food scraps a short distance.
Pick a location with access, room, and basic infrastructure
Look for a spot with a stable base, shade, and nearby water. A compact storage area for brown material and lidded buckets keeps the place tidy.
Set up a three-bin or four-bin flow for start, cooking, and finished compost
Use clearly labeled bins in a left-to-right flow: Start → Cooking → Done. This bin order stops fresh inputs from contaminating finished material and makes the process easy to follow.
Plan for tools, storage, and simple signage so participation stays easy
Stage a pitchfork, shovel, hose or watering can, and a sifter nearby. Put short, visual signs on each bin showing allowed materials and common mistakes—people will read a picture faster than a paragraph.
Reduce hauling by keeping composting infrastructure close to where scraps are generated
Placing the composting system near kitchens, garden plots, or cafeterias cuts transport miles and keeps your program running. The closer the bins are to where people work, the more likely they are to use them.
- Keep it tidy: lidded buckets and a brown stockpile on-site.
- Ghi nhãn rõ ràng: simple icons for food scraps vs. non-compostables.
- Maintain access: clear path for moving materials without spills.
Run a Clean, Low-Odor Composting Process (Even With Lots of Contributors)
A steady routine is the secret to clean, low-odor compost that everyone will use. Follow three simple habits and your piles stay active and pleasant to work near.
Balance browns and greens with an easy 2:1 rule
Make it simple: add one shovel of dry leaves or straw for every bucket of food scraps. That 2:1 brown-to-green ratio keeps oxygen in the pile and prevents wet, slimy odors.
Chop and mix to speed up breakdown
Smaller pieces increase surface area so material decomposes faster. A quick chop or tear before adding reduces time to finished compost.
Weekly checks, turning, and moisture care
Each week, one person or a rotating pair should check moisture, turn the bin, and add a brown top layer. Aim for a wrung-out sponge feel; if it is wet and slimy, add dry browns and turn that day.
Bin-to-bin flow keeps the process consistent
Use Start → Cooking → Done bins and move material between them when you turn. This bin routine makes sure compost piles “cook” evenly and keeps fresh inputs out of later stages.
Lazy composting tips can help train contributors who want minimal handling while still keeping the area clean.
Make Sure You’re Collecting the Right Materials (and Keeping the Bad Stuff Out)
Sorting starts at the drop-off: clear yes/no lists keep bins useful and finished compost safe for gardens. A short rule set reduces contamination and saves time for volunteers who manage the pile.
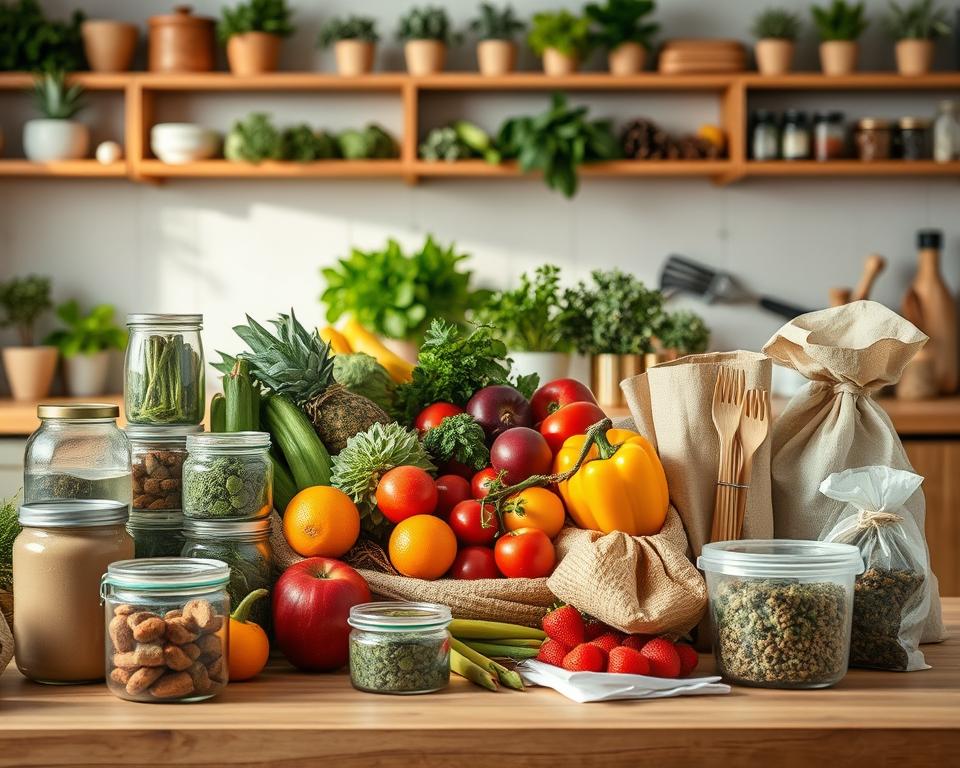
What you can drop
Yes: kitchen scraps like produce peels, coffee grounds, and eggshells. Also add garden waste and weeds that haven’t gone to seed.
Label containers and ask contributors to chop large pieces before they add scraps. That speeds breakdown and keeps the bin tidy.
What to keep out
No: plastics, Styrofoam, and mixed waste. These contaminants ruin finished compost and make it unsafe for planting beds.
Avoid meat and dairy in most neighborhood piles — they cause odor and attract pests because many piles don’t reach industrial heat levels.
Special cases and alternatives
Remove diseased or pest-infested plants and dispose of them off-site. Don’t risk spreading problems through your pile.
Woody stalks and seed-heavy weeds decompose slowly or can reseed. Send those to a separate chip or disposal pile, or arrange off-site handling.
About “commercially compostable” items
Commercially compostable plates and utensils often need industrial conditions to break down. If your community compost or composting systems can’t reach those conditions, treat those items as contamination.
Hãy chắc chắn drop-off rules are posted and simple. A clear yes list and no list will protect your final compost and keep your program running smoothly.
Get Buy-In and Keep Your Program Growing Over Time
People join when the benefits are clear, the steps are short, and help is nearby. Start with a simple education plan that uses short workshops, printed guides, and school partnerships to build habits among members and families.
Train a small crew of volunteer leaders so maintenance and outreach don’t fall on one person. Use a community composter model or Master Composter training so your team can answer questions and prevent contamination.
Offer easy incentives like subsidized home bins, convenient drop-off times, or “bring a bucket, take a bucket” giveaways to increase participation. Visible demonstration sites help people see results quickly.
Track results and improve
Log buckets of scraps, note contamination incidents, and review diversion rates quarterly. Tracking helps you refine rules, measure cost per ton, and show how the program reduces waste and boosts local carbon value.
| Action | Why it works | Quick metric |
|---|---|---|
| Workshops & brochures | Builds member habits and awareness | Attendance & materials distributed |
| Volunteer training | Scales outreach cost-effectively | Number of trained composter leaders |
| Incentives (bins/drop-off) | Removes friction; raises participation | Household sign-ups & buckets received |
Use Finished Compost to Close the Loop in Your Gardens and Landscapes
Finished compost is the payoff: it turns your collected scraps into dark, soil-ready material you can use right away.
Know when compost is done. Look for a dark, crumbly texture, an earthy smell, and no recognizable food pieces. If you still find large bits, sift through a mesh sifter to remove debris before use.
How to sift and why it matters
Sifting removes sticks, plastic bits, and slow-to-decompose pieces. That keeps soil texture consistent and makes the finished product more appealing to gardeners.
Three simple ways to apply compost
- Top dressing: spread a thin layer around existing plants to feed soil life.
- Planting mix-in: blend one part compost to three parts soil at transplant time.
- End-of-season soil builder: spread and lightly till compost into beds before winter.
Soil, water, and nutrient benefits
Adding compost improves soil structure so it holds water better and reduces irrigation needs. Over time, your plants need fewer synthetic fertilizers because biology in the soil supplies nutrients naturally.
Đóng vòng lặp: when gardeners see better soil and stronger plants, they contribute cleaner inputs to the bins. Local use of finished compost also supports carbon outcomes and strengthens neighborhood gardens.
| Sử dụng | Timing | Benefit |
|---|---|---|
| Top dressing | Growing season | Slow nutrient release, soil cover |
| Planting mix-in | At transplanting | Improves root establishment |
| End-of-season build | Fall or winter | Long-term soil structure and water holding |
Phần kết luận
Make a short checklist and commit to one action this week to move your site from idea to pilot. Choose a model, pick bins, and decide who will handle weekly turning.
Keep rules simple, post an approved materials list, and train two members so the routine stays steady. Consistency beats complexity: clear signage and a weekly check keep odor and contamination low.
Start small — one bin station or one partner site — and expand as participation grows. When you keep food waste and food scraps local and return finished compost to the garden, you build soil health now and support long-term carbon benefits.
Action now: organize a short group meeting, recruit a volunteer, or set up a pilot drop-off for scraps this week.