Anúncios
You’ll learn how small changes in temperature shape every bite. The feel of a dish comes from warm and cool contrasts, crisp edges, and tender centers. These shifts affect flavor and perception, and they guide your senses when you eat.
Think of a bite that snaps then melts. Chefs use simple techniques—timers, thermometers, and rest—to make that happen again and again. You’ll see how dialing in heat and time builds a consistent experience.
In this intro you’ll set the stage for how temperature maps to results. You will map goals like crispy, chewy, and creamy to clear targets. That way your cooking becomes predictable instead of guesswork.
Key takeaway 1: Small temperature shifts change feel and flavor more than you expect.
Key takeaway 2: Use tools and repeatable techniques to get reliable results every time.
Anúncios
Why Temperature Rules Texture: The Science Behind Your Best Bites
Your brain treats temperature and bite sensations as one unified signal, and that is why a small shift in heat can change how a dish feels and tastes. The science shows taste and smell meet in the anterior insular cortex, while the gustatory cortex links taste with mouthfeel.
Regions like the orbitofrontal cortex (OFC) and anterior cingulate cortex (ACC) combine those signals into overall perception. About 23% of neurons in primary taste areas respond to jaw or tongue movement, so mechanics matter as much as flavor.
Variety keeps you engaged. Alternating crisp and creamy, warm and cool, prevents palate fatigue and boosts perceived quality of each bite.
- How the brain merges sound, heat, and bite into one experience.
- Which regions handle multisensory fusion and why that shapes mouthfeel.
- Familiar examples—like crème brûlée and bubble tea—that show the science behind memorable experiences.
“When temperature expectations match reality, satisfaction rises.”
Use this science behind perception to plan pairings that make flavor pop and keep every mouthful interesting.
cooking texture control: A Practical Roadmap You Can Use Today
Start by naming the exact finish you want—crisp, chewy, or silky—so every step points to that goal. Once you set the target, pick the methods and processes that get you there. This makes results repeatable and reduces guesswork.
Set your targets: crispy, crunchy, chewy, or creamy
Decide on the final bite first. Label it—crispy or crunchy, tender or creamy—and note why you want that feel. That choice directs time, temperature, and ingredient handling.
Match technique to goal: thermal, mechanical, chemical, and biological processes
Thermal methods—baking, roasting, frying, steaming—create crusts or tender centers through dehydration and starch gelatinization.
Mechanical steps like grinding, cutting, and extrusion tune hardness and cohesiveness for items from pasta to chips.
Chemical processes—marination, curing, leavening—alter protein networks and gas incorporation. Biological routes such as fermentation or enzymes yield creamy yogurt or tender meats.
Use tools that keep you honest: thermometers, timers, and thickness guides
Build a compact kit: an instant-read thermometer, a timer, and a ruler or thickness guide. They make your method measurable.
- Lock target first so you can choose the right way and temperature window.
- Match goals to methods: dry heat for crust, wet heat for tenderness, mechanical tweaks for bite.
- Run small tests—one fry or a single pancake—to dial temperatures and avoid waste.
- Document temperatures and timing so favorite results become reliable weeknight standards.
“Pick your target, pick the process, then measure to repeat.”
Crispy vs. Crunchy: Temperature Strategies for Snap, Crackle, and Bite
A crisp snap or a deep crunch starts with the way you move heat through a coating. Decide whether you want a light, brittle finish or a dense, teeth‑resisting bite before you set temps. That choice guides oil or oven targets and how long you hold items.
Crispy = light and brittle; crunchy = dense and firm—what that means for heat
“Crispy” breaks with little force; “crunchy” takes more. Use higher surface temperature and short dwell for a thin crust that snaps. For a crunchy outcome, use lower surface heat but longer time to remove deeper moisture and build a solid crust.
Prevent sogginess: optimized coating systems and heat‑lamp stability
To keep fried chicken and similar food crisp during service, rely on coatings that blend starches, hydrocolloids, and fibers. These systems resist sogginess and hold up under heat lamps and through freeze/thaw cycles.
Moisture migration and water activity: keeping the crust intact
- Match batter viscosity and crumb size to cook temperature to manage water activity.
- Use rack resting to vent steam instead of closed containers.
- Test small batches and log how heat and time alter surface texture and interior juiciness.
79% of consumers say texture influences satisfaction and 52% will reject poor mouthfeel.
Thermal Techniques That Shape Texture: From Crust to Tender Interior
Thermal methods steer how a dish finishes, shaping a hard shell or a soft, airy center with simple shifts in heat.

Baking and roasting: dry heat for crust formation and Maillard browning
Dry heat promotes Maillard browning that yields a robust crust while preserving an airy interior in baked goods like bread.
Rotate pans, use wire racks, and standardize thickness to get repeatable color and crumb.
Frying fundamentals: oil temperature windows for fried chicken and fries
Frying rapidly dehydrates the surface to make a crisp shell that locks in juiciness for fried chicken and fries.
Confirm oil temperature windows to reduce oil uptake and hit even color.
Boiling and steaming: starch gelatinization and cell‑wall softening for vegetables
Boiling and steaming soften cell walls and gelatinize starches so vegetables become tender while holding some bite.
Target doneness that boosts sweetness and aroma without turning items mushy.
Carryover heat and resting: locking in structure after the cook
Pull proteins and starches a few degrees early. Then rest on a rack so carryover heat evens internal temperature and stabilizes the interior.
- Adjust time and temperature together for the crust you want.
- Standardize surface moisture and slice thickness to cut variability.
- Record color, sound, and feel at pull time to link sensory cues with thermometer readings.
“Short, hot sears make a thin crust; longer, moderate roasts build deeper tenderness.”
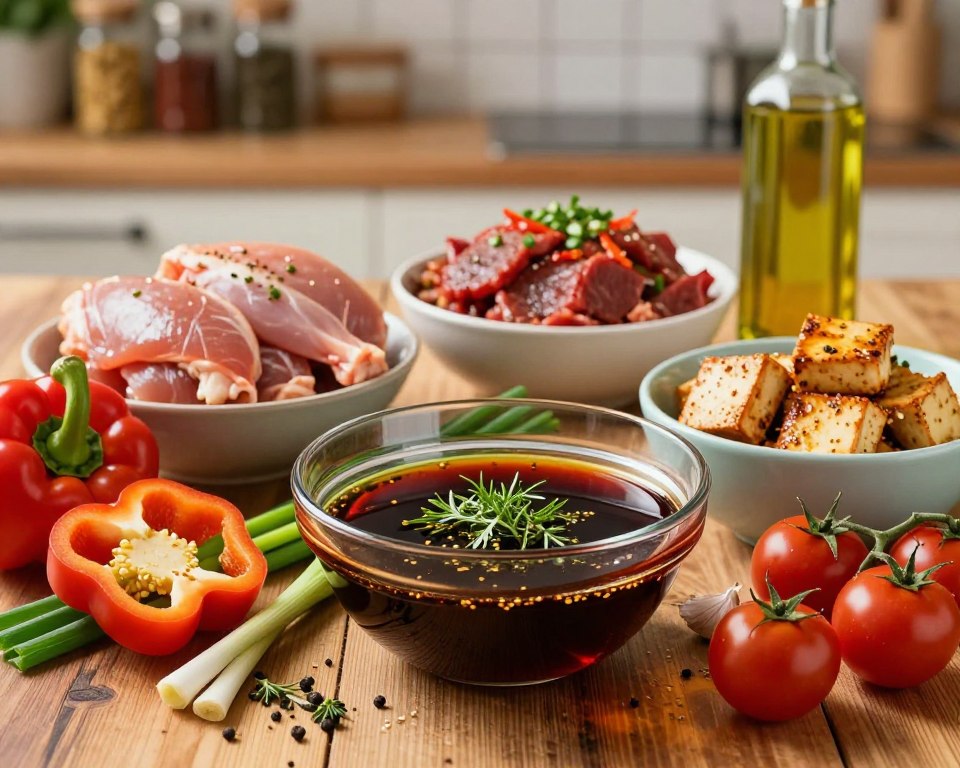
Protein Perfection: Marinades, Enzymes, and Heat for Meat and Fish
Perfectly tuned marinades and a hot sear are the fastest ways to make a tough cut sing. Acidic marinades break down proteins and connective tissue, while proteases from pineapple or papaya speed tenderizing. Use them with care so you don’t end up with mushy results.
When to tenderize and when to hold back
Pick your battles. Use acid or enzymes on tougher meat for a short, tested window. For delicate fish, test a small example portion to avoid over‑softening.
Searing for structure
Sear hot to build a crust that adds visual appeal and gives the slice a firm structure. Then finish to the right internal temperature and rest so juices settle and the proteins stabilize.
- Salt and cure to reshape bite and boost quality over time.
- Match method—pan‑sear, roast, or steam—to the cut’s fat and connective tissue.
- Use even thickness and dry surfaces so the crust forms fast without steaming.
“Sear first, finish gently, rest to lock flavor and keep slices tidy.”
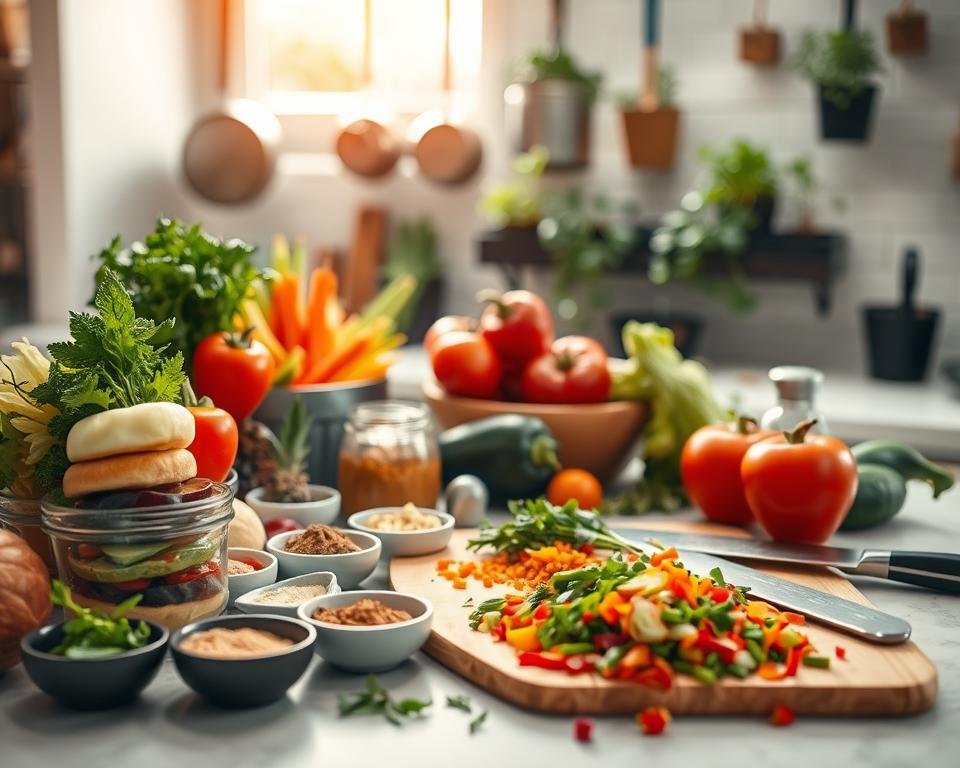
Starches, Hydrocolloids, and Proteins: Your Texture Control Toolkit
Choose functional ingredients that reinforce crunch, hold moisture, and keep products stable through freeze and reheat. Use this toolkit to set structure and consistency at the formulation stage so results survive real‑world service.
Starches for crispiness and freeze/thaw stability
Starches enhance crispiness and extend shelf life in snacks, bakery, and coated food. Native tapioca, potato, and rice starches can give you clean‑label performance.
Pick starches to reinforce a crisp finish and to keep structure after freezing and reheating.
Hydrocolloids for viscosity and reliable mouthfeel
Hydrocolloids stabilize emulsions and tune viscosity so sauces and fillings deliver consistent mouthfeel. They help maintain quality across hold times.
For a deeper dive into gums and gels, see baking with hydrocolloids.
Plant proteins and fibers to shape bite and moisture
Plant proteins smooth gritty feels and mimic classic proteins in meat analogs. Fibers improve oil binding and water holding so food stays juicy, not dry.
- Select starches to lock in crispness after freeze/reheat.
- Use hydrocolloids to build stable emulsions and consistent viscosity.
- Add plant proteins and fibers to improve bite and moisture management.
- Match ingredients to processes at the right level—tapioca, potato, pea, or rice sources.
Test reheat cycles, hold times, and moisture loss to confirm your balance of starches and proteins protects food quality in service.
Plate for Perception: Using Contrast to Elevate Flavor and Mouthfeel
Plating is your final chance to arrange heat, crunch, and cream so every bite tells a story. You’ll layer elements to create height and paths that guide the diner’s fork. Thoughtful assembly makes contrasts obvious and satisfying.
Layering elements for multi‑textured bites
Start with a creamy puree as a base, add a seared protein, then finish with toasted nuts or crisp shards. This builds height and gives each forkful multiple sensations.
Cutting and arrangement to shape perception
Cut proteins and veg on a bias to increase surface area and tenderness. Stack components so sauces cling and every bite mixes smooth and crunchy in the intended way.
Temperature contrast for impact
Pair warm crusts with cool interiors to intensify taste and contrast. That thermal difference highlights flavors and improves the overall dining experience.
“Layer thoughtfully, avoid clutter, and let textures lead,” advise chefs who design dishes to guide diners through each bite.
- Build from a creamy base to seared protein and crunchy finish for balanced mouthfeel.
- Use precise garnishing and deliberate sauce patterns to direct the bite path.
- Test plate layouts so each route through the dish delivers a consistent, compelling experience.
Conclusion
You’ll finish with a clear path to use heat and ingredients to shape every bite. The data is simple: most diners judge foods by feel, and classic examples—like a brittle brûlée top over a creamy center—show how contrast raises satisfaction.
Use science-minded methods and practical tools to make results repeatable. Pick ingredient systems—starches, fibers, plant proteins, and hydrocolloids—that protect crisp or crunchy finishes through holding and reheating.
Work in short tests, log temperatures and times, and build a routine so your cooking matches your goal for crust, interior, and mouthfeel. When heat and expectation align, diners notice the difference.